
How-tos
Recording video using OBS in the baby eye tracking lab (K09)
If you have suggestions on how to improve this document, or find mistakes, please send them to ilslabs@nulluu.nl
Before, there was only a “generic” how-to for recording with OBS in the baby (observation) lab.
Since 2019, we have also implemented a video overlay recording setup for the baby eye tracking setup in k09. However, in this setup , we have (re)used a slightly different piece of hardware and a different default profile (ILS Baby ET k09).
- Any new user wanting to record video of the baby while doing eye tracking will have a working configuration by default, given starting up the Kubuntu (Linux) OS.
- An existing user who has used this video setup before (under Kubuntu), may need to adapt some settings manually, the specifics can be found below (“Adjustments in OBS”).
Other things related to this setup/lab that are worth mentioning:
- The startup order for the Video PC, Stimulus PC and eye tracker are important if you want to record movies here.
- This setup enables an experimenter-paced mode for proceeding in (sub)trials, using a separate Beexy Box at the operator/experimenter desk.
- The regular how-to’s for conducting eye tracking experiments in the baby lab will still be here (generic info), here (visual world paradigm) and here (reading).
Some background regarding scoring looking behaviour in infants in eye tracking studies
In many infant studies, a certain amount of time (for instance, one or two seconds) of not attending to the screen during a trial is used throughout the experiment as a setting that controls when to proceed to a new attention grabber (a sub trial stimulus with “something enticing”, sound + visual stimulation usually) and — once te infant is attending to the attention grabber — the next trial part(s). There are two ways of enabling a ZEP program to handle this flow:
- Automatic (eye tracker determines flow)
No extra observer side Beexy box is connected and the eye tracker determines the attention to the screen. Once the eye tracker finds no valid data within the calibrated screen region for a specified amount of time (eg. 1000 ms), the current trial is automatically stopped and a new attention grabber trial is started. Due to the fact that data quality (precision, accuracy and periods of missing data due to movement and posture) is usually much lower in infants than in adults (references needed here?), this automatic way of doing has raised some debates about the applicability of the automatic flow in infants. The general idea was that, by observing the babies behaviour on video, infants often seemed to attend to the screen, but the eye tracker data showed no data points in the calibrated region, making the flow of attention grabber and trials rather unpredictable.
- Observer-paced (video link and Beexy box determine flow)
In order to have an alternative to the automatic flow, we enabled a way to proceed in a trial sequence by manually scoring the child’s attention to the screen. A ZEP program can borrow the flow of regular baby observation experiments (ie. head turn preference or hybrid visual fixation paradigms, i.e. HTP or HVF) by enabling time counter and “eye open” feedback screens in the operator interface, enabling experimenters to manually score the amount of time/number of looks to the screen, as judged by the experimenter.
This way, even though any missing data may still be a problem for analysing the eye movement data, an experiment that is in need of “reward” trial parts (eg. a fun animation and sound after making a saccade to a part of the screen), will be less influenced by random data loss and probably feel as more predictable for the attending infant. In young infants, this observer-paced flow is typically recommended.
For now, we assume you will make these recordings with these limitations/options:
- Using Kubuntu (Linux) for the video-recording PC (im-lab-k09-02). Using Windows for this has not yet been tested, but is probably no problem.
- Using a Beexy box for manually scoring looking behaviour and proceeding from attention-getter to the next trial (instead of letting the eye tracker control when to proceed due to inattention). An example of a well tested observer paced ZEP-program can be found here (GitHub).
Startup order
- Switch on the main power strip under the desk (red button)
- Start up the video recording PC (im-lab-k09-02) under Kubuntu (wait until configuration management has finished)
- Start up the main PC (stimulus PC, im-lab-k09-01) under Kubuntu (you may have to wait for possible configuration management flow again, especially first measurement of the day)
- Press the button of the participant screen (the one inside the lab room with the eye tracker screen + eye tracker optics). This will also power up the eye tracker below the screen.
- Then switch on the eye tracker PC in the operator room (eye data server).
- Before your start your custom ZEP task, make sure to attach the Beexy box tot the USB cable in the operator zone. By default, it is not connected.
- Now, to set the OBS video recording setup right, simply use the default combination of sources as the one for lab room K11.
Adjustments in OBS
Open the default settings for the Black magic device in the “sources” Panel by clicking on it. Make the following changes there:
- Device: where it says Blackmagic device, select “Intensity Pro”
- Mode: set it to 720p60 (larger size will not work)
- Pixel format: set to 8-bit YUV
Images for each step:
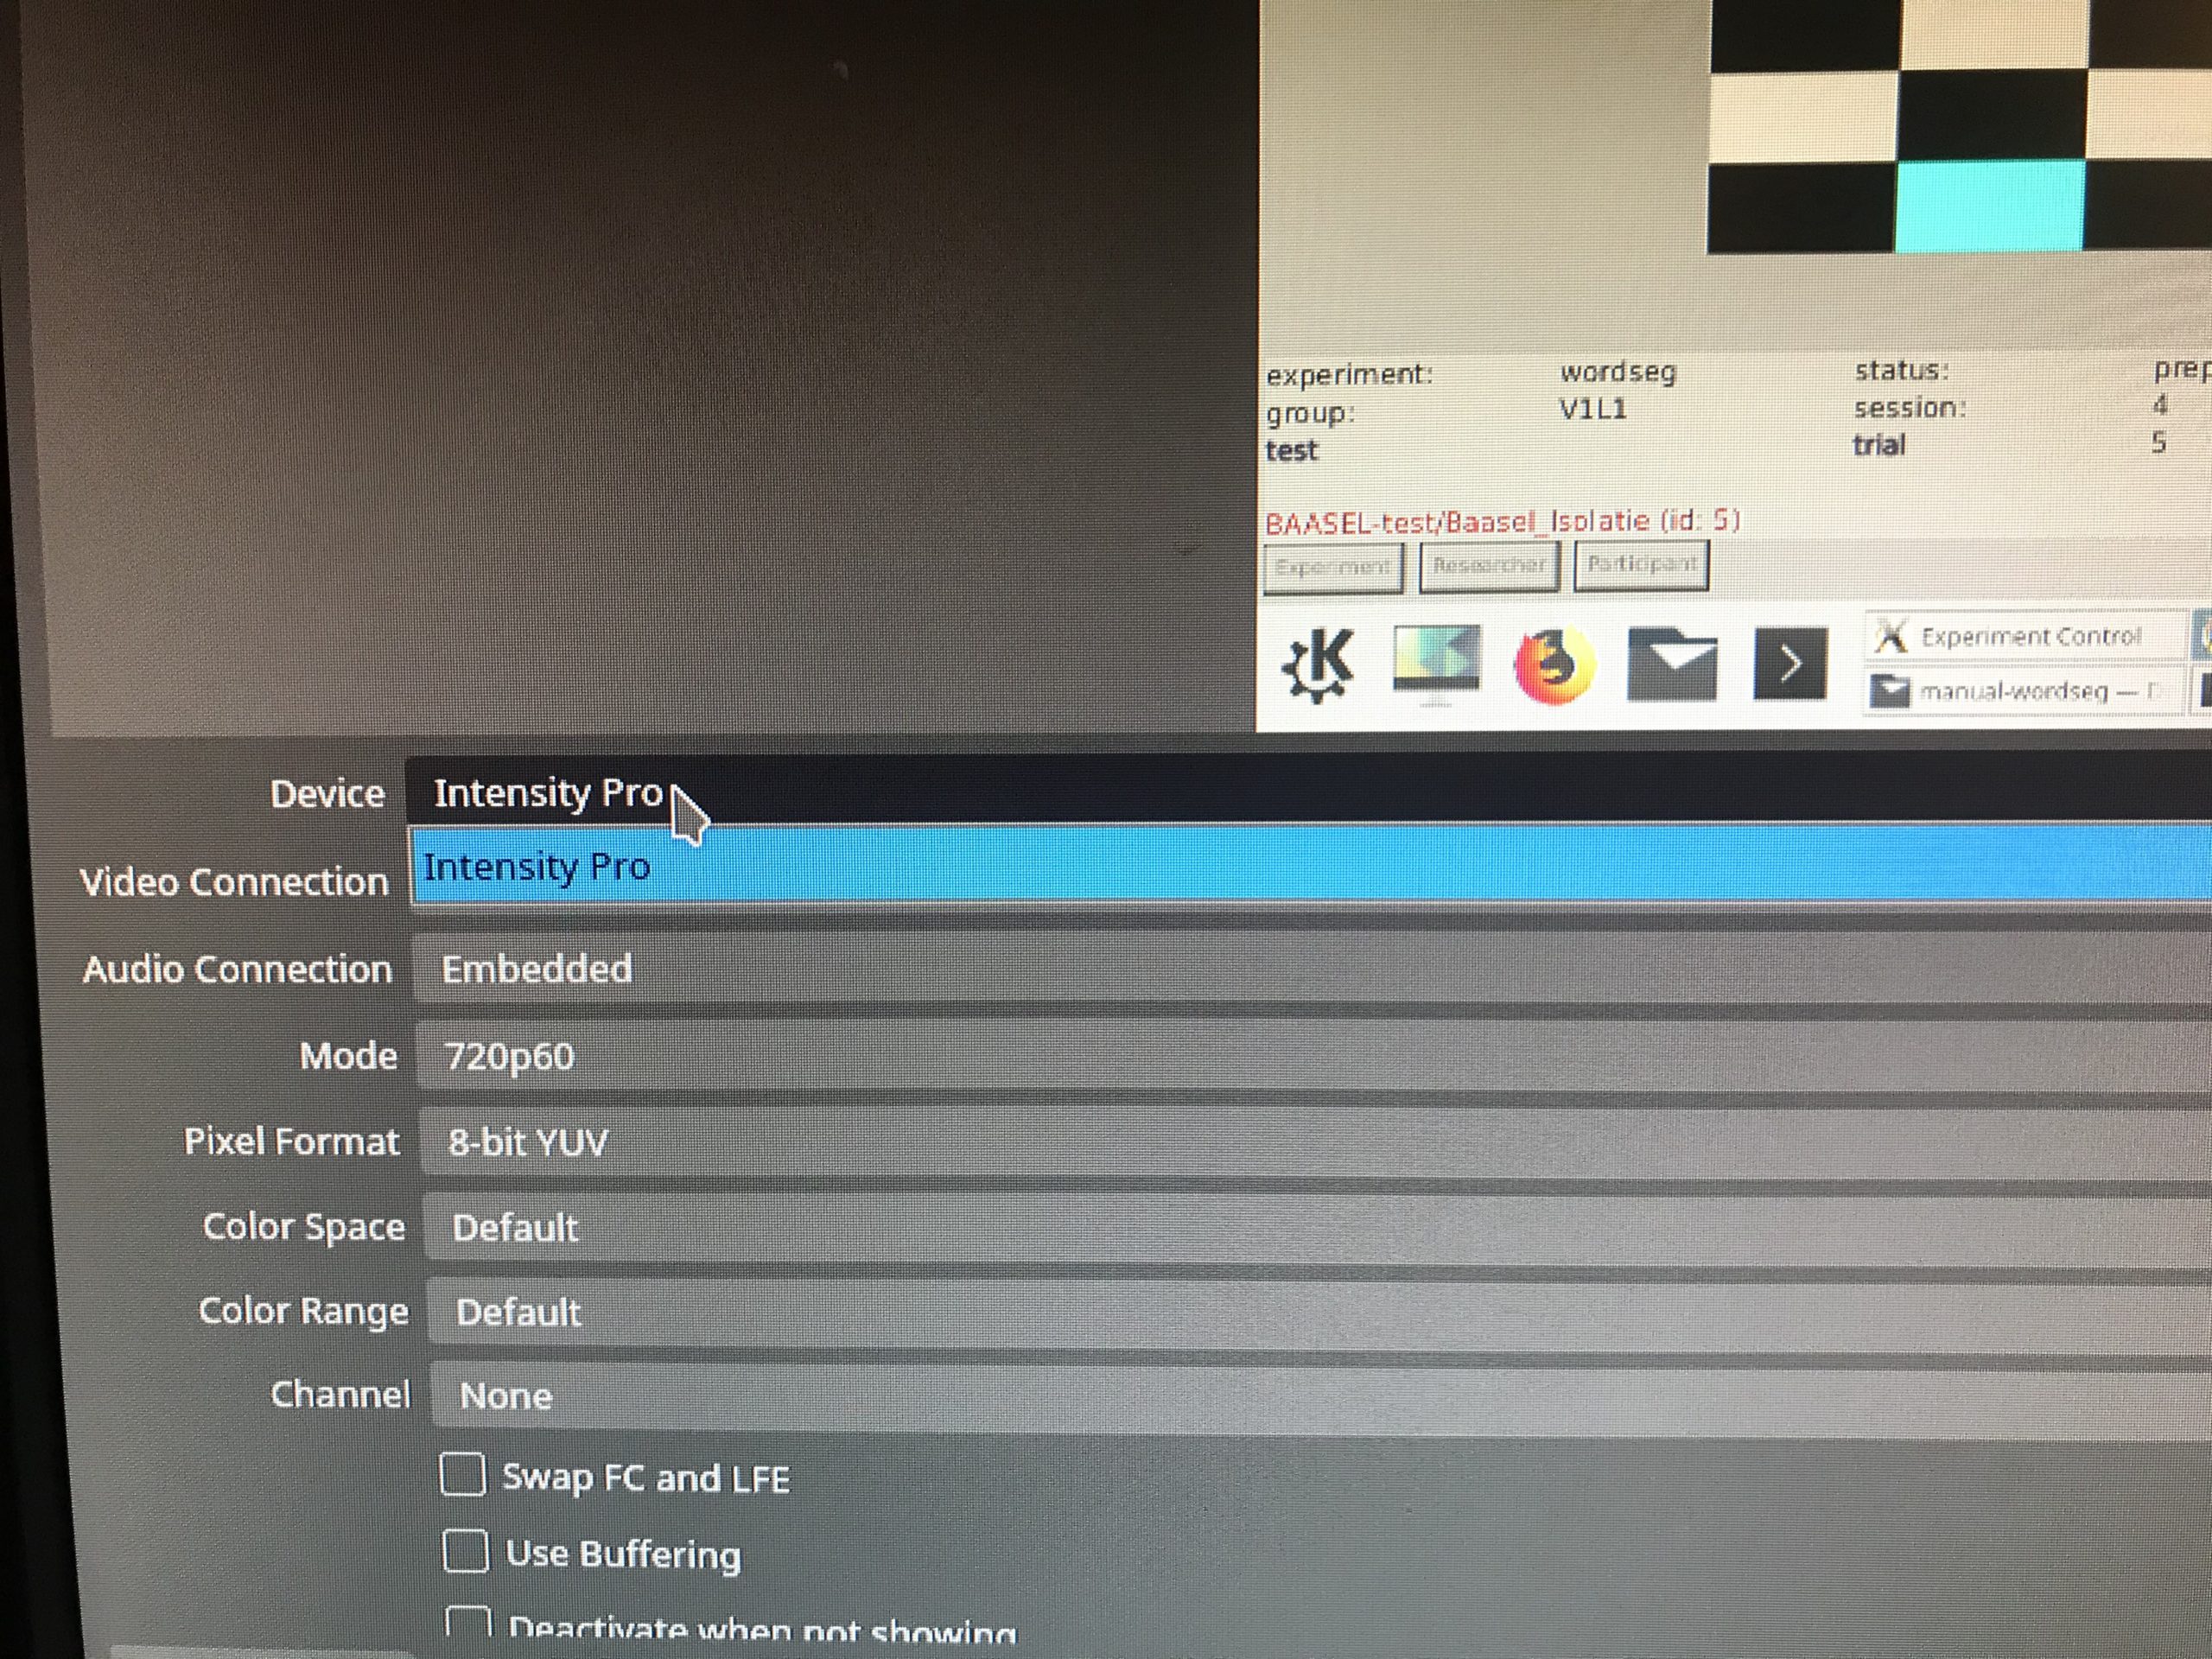
Step 1. Input: Intensity Pro
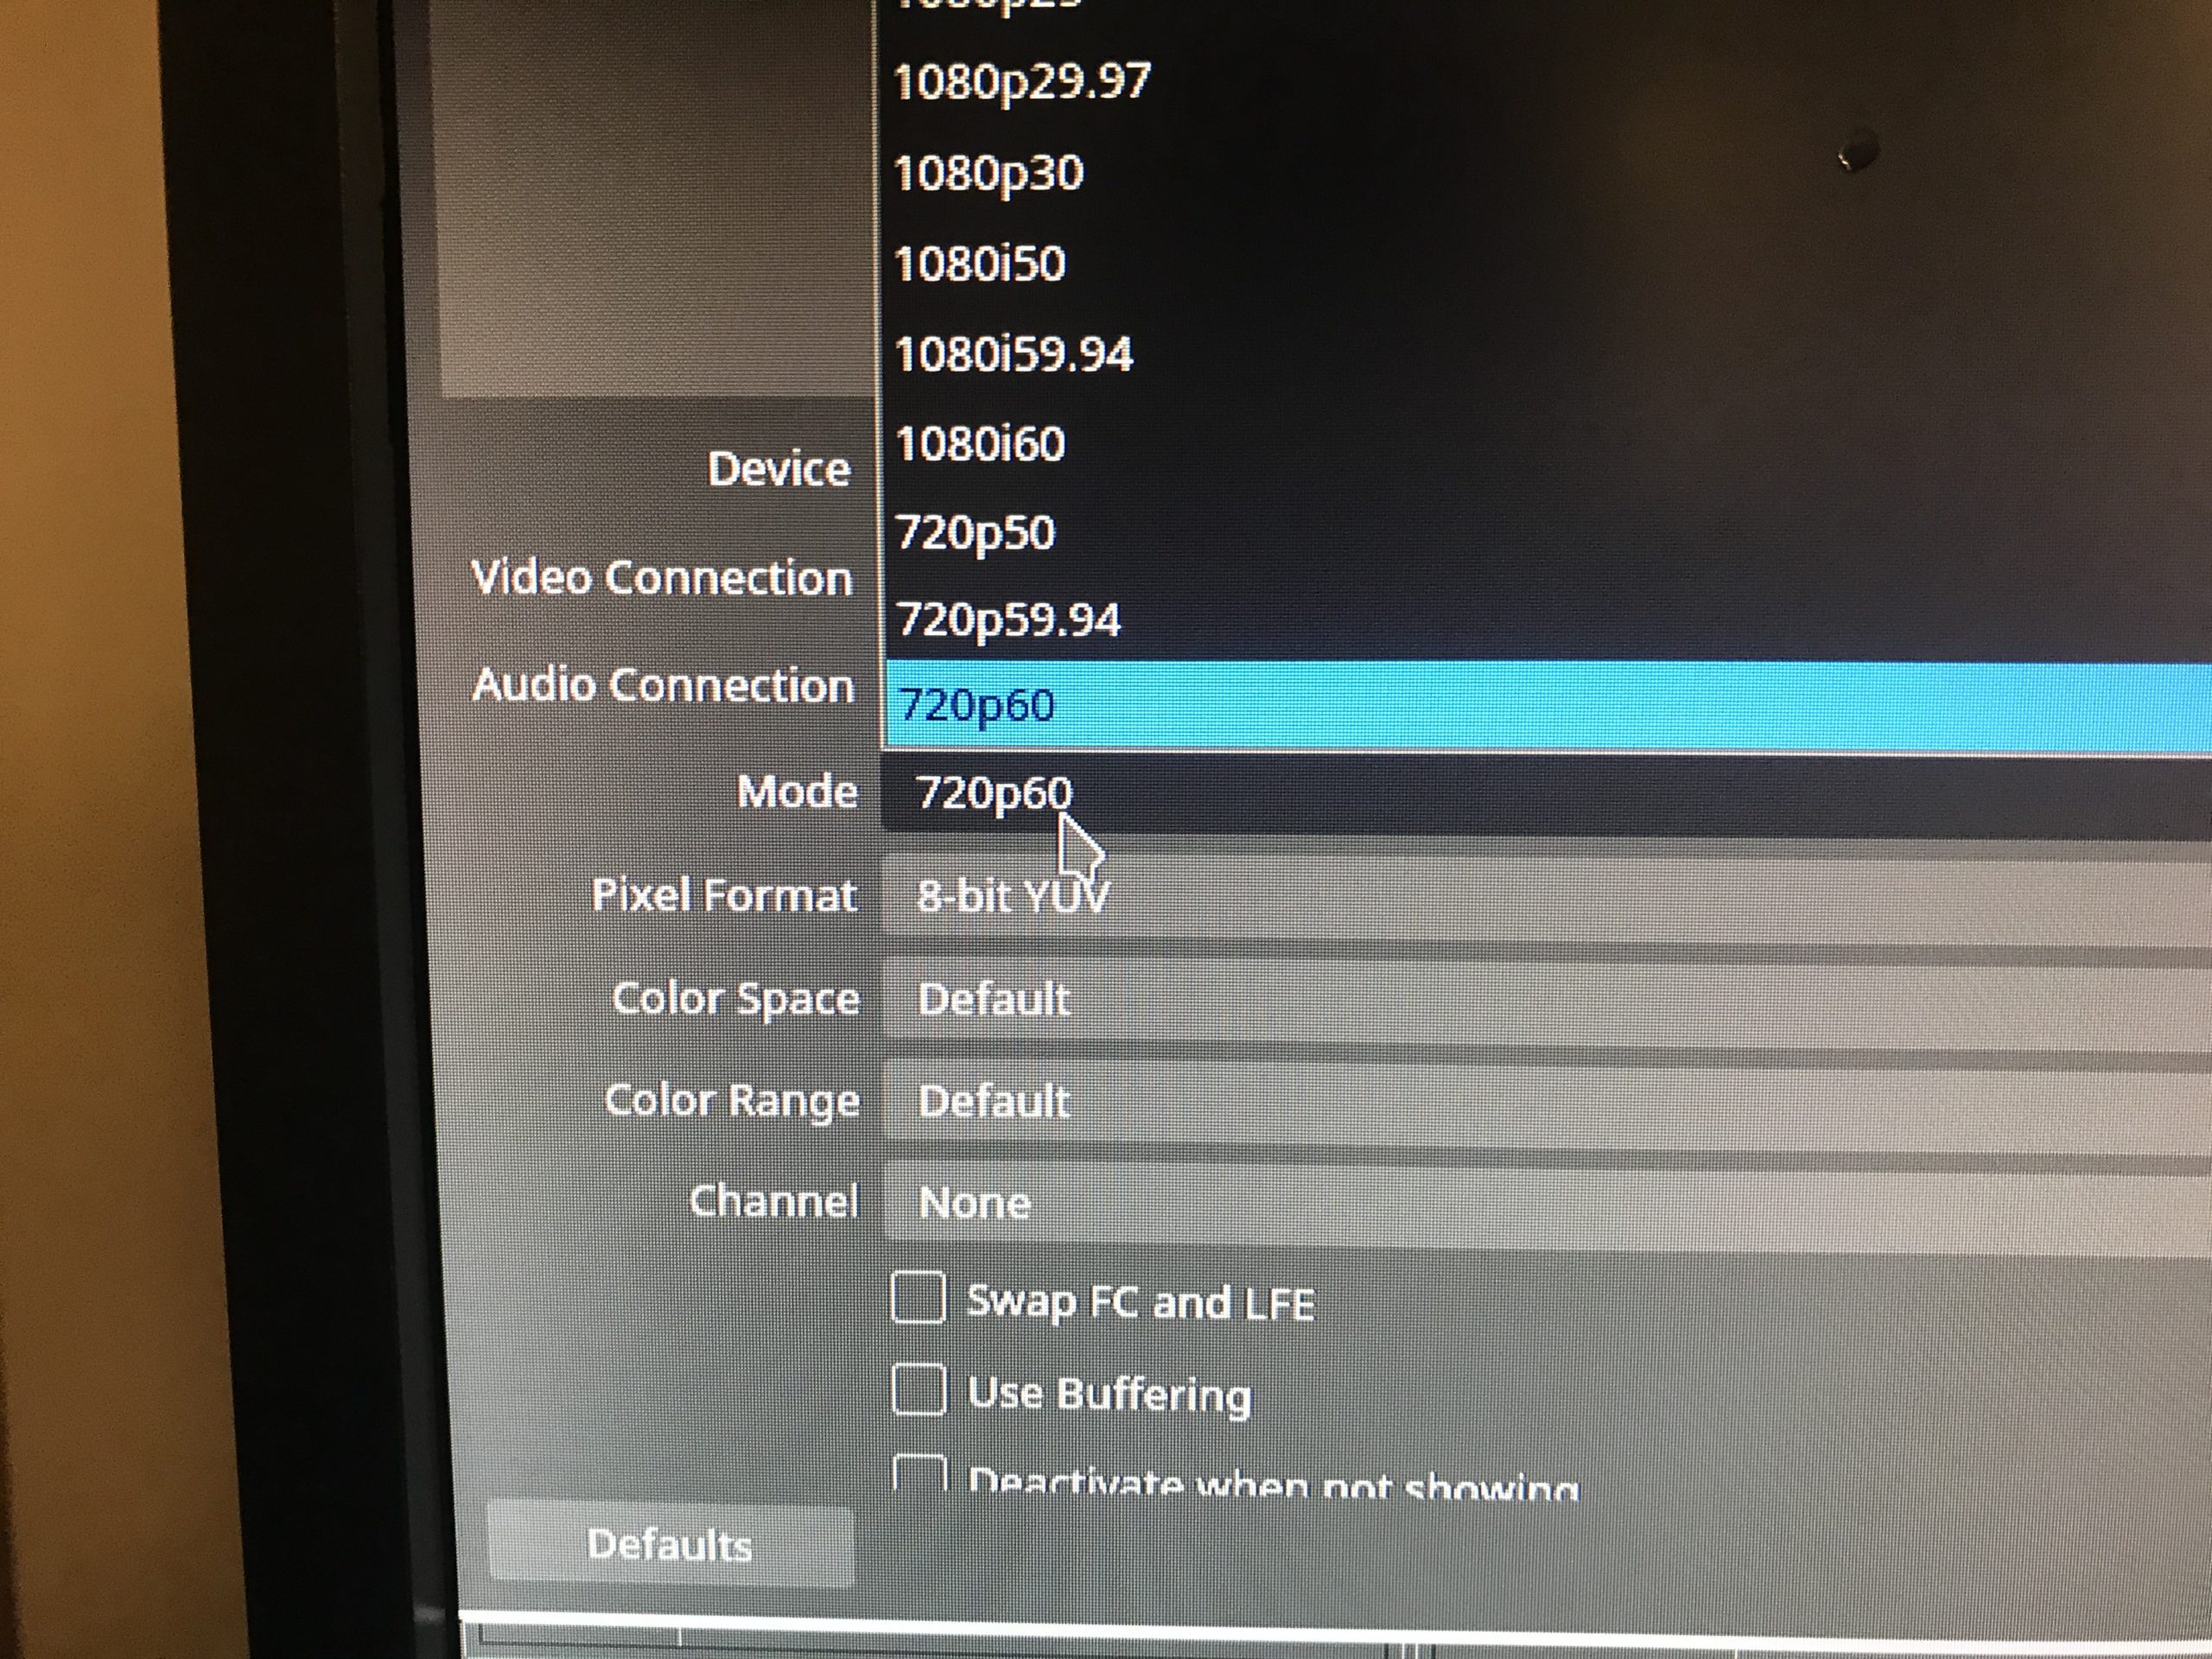
Step 2: Mode to 720p60
Step 3: set pixel format to 8-bit YUV
You should see the image of the stimulus PC after making these changes.The only thing now, is that the image of the stimulus PCV is smaller than the other sources. Change this source too, by right-clicking on the “Black Magic Device” setting and then select: Resize output (source size).
Step 4: resize Blackmagic device output
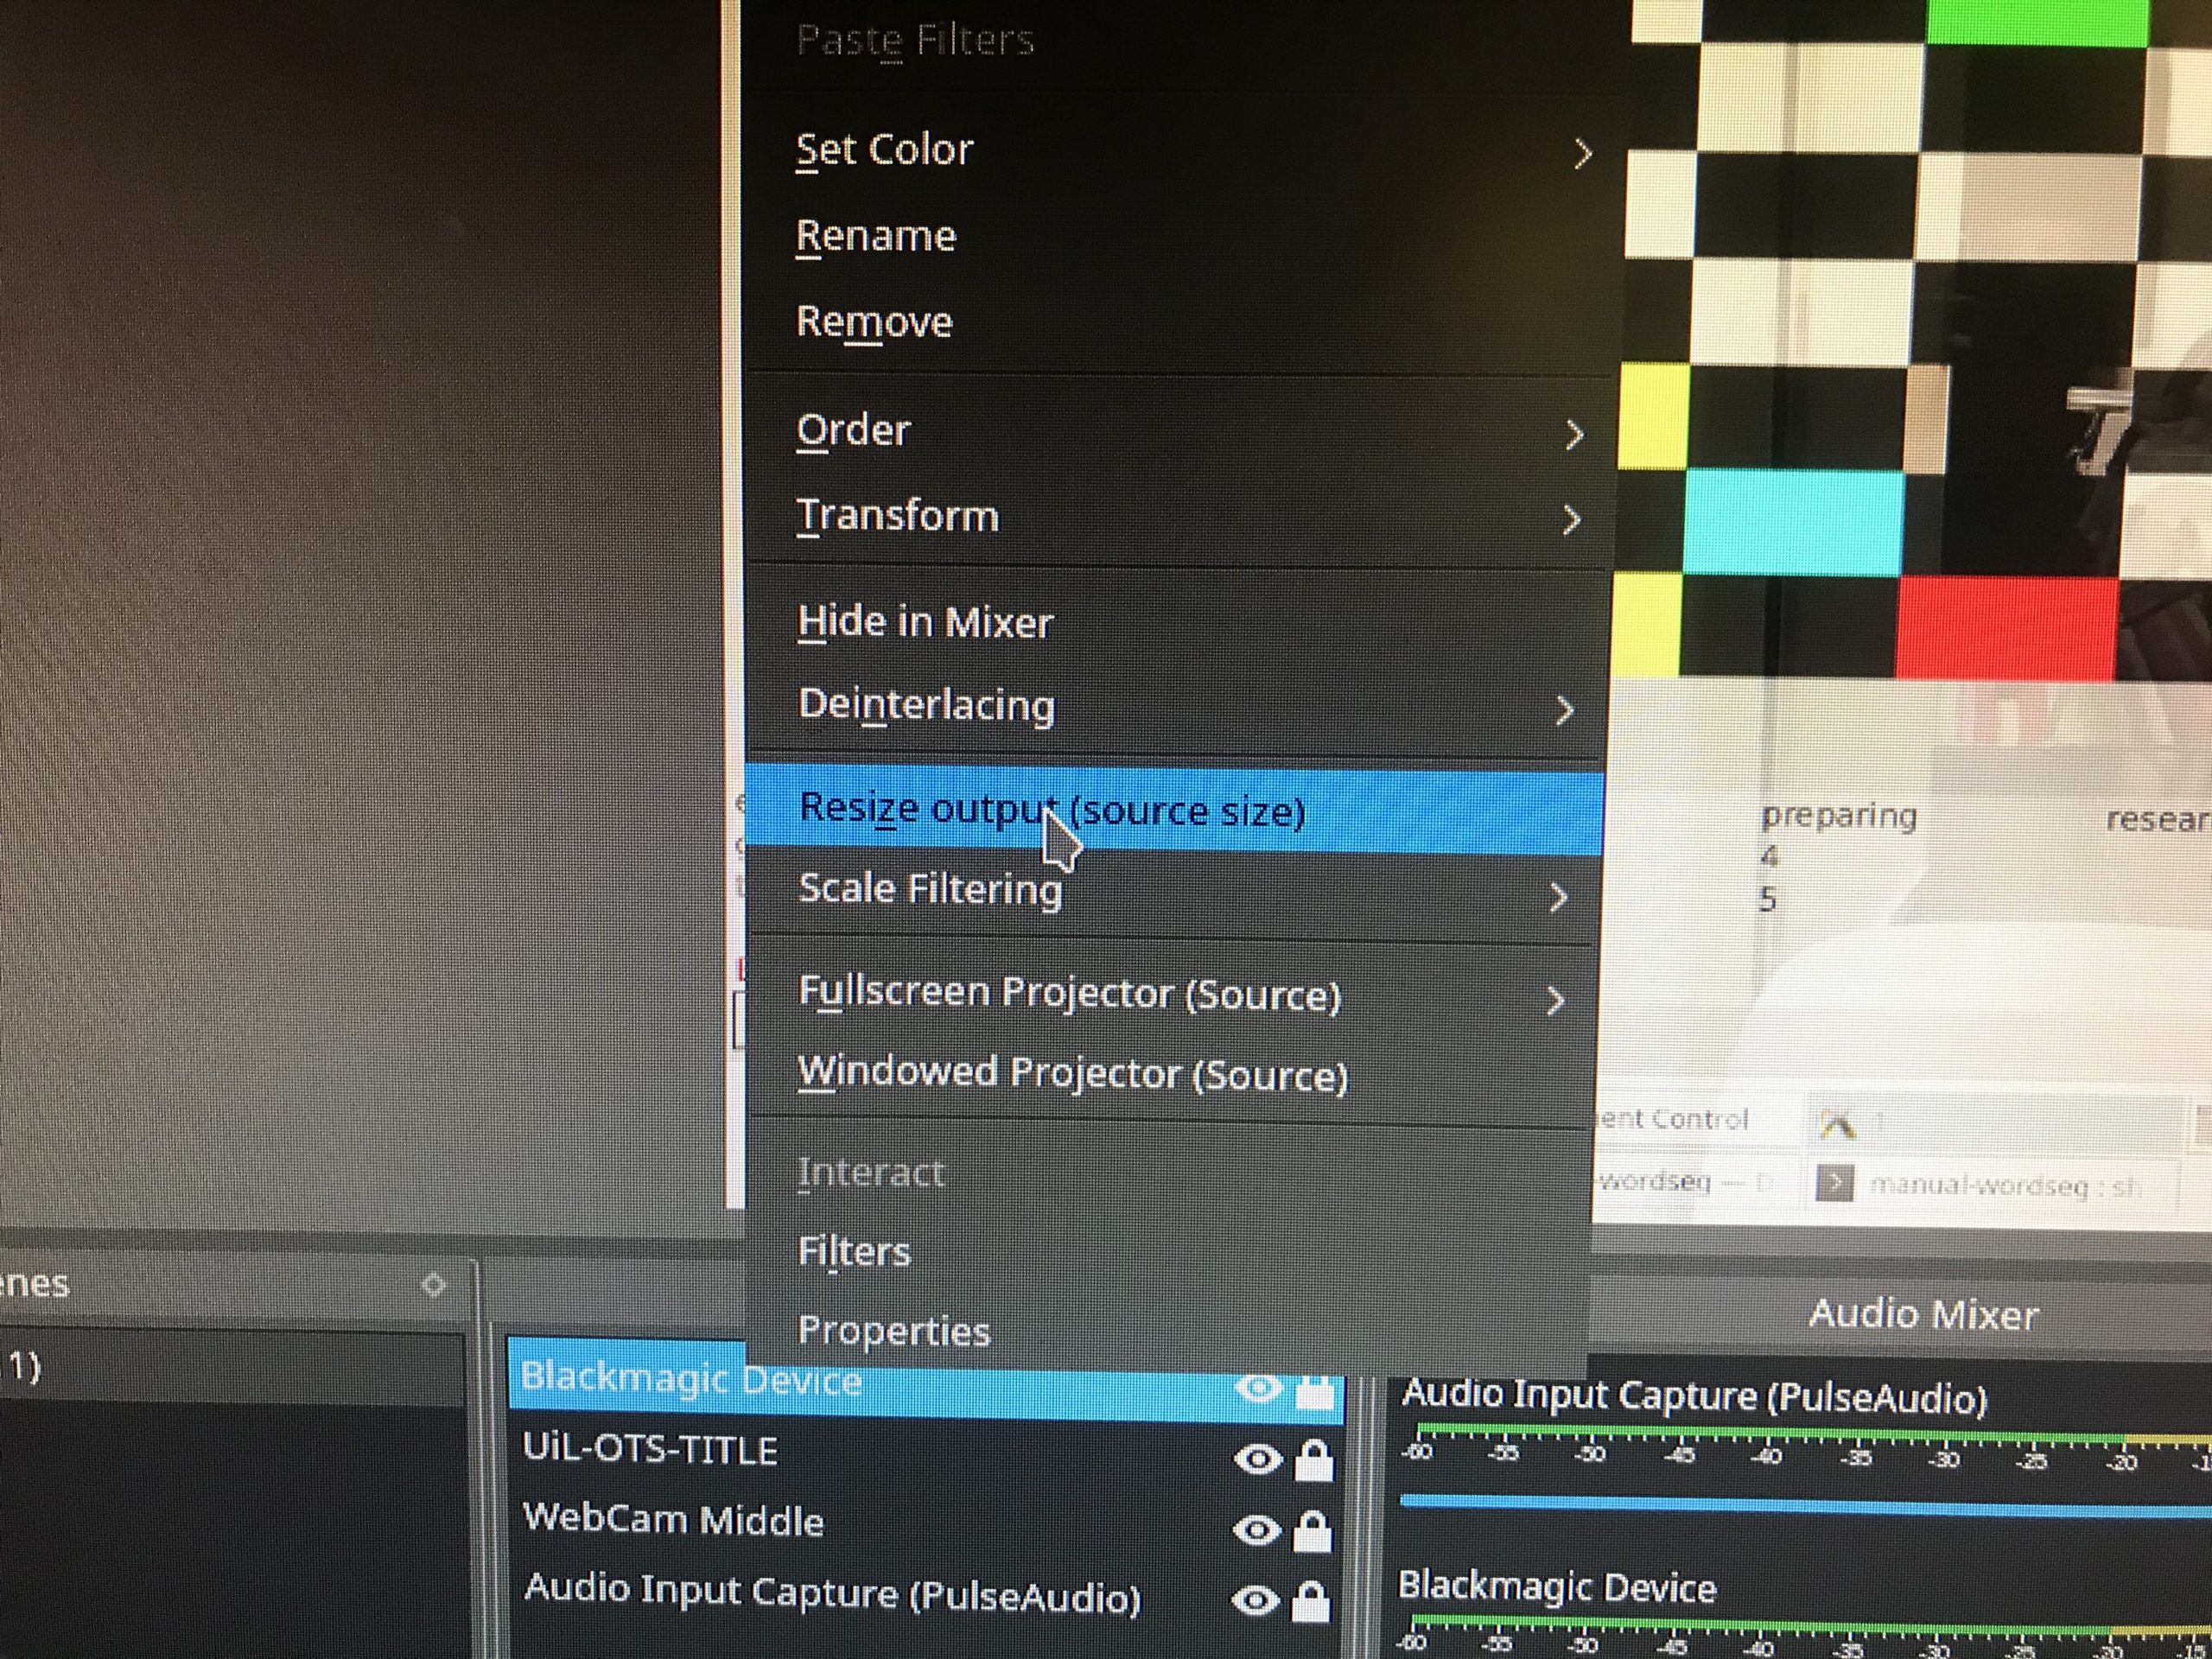
Step 4: resize output of Black Magic Device
This last step should result in an even-sized overlay, that can be used to score behaviour and record video in which participant, operator screen (or the stimulus screen, depending on the eye tracking screen view options built in ZEP). If all goes well, next time your settings on the stimulus PC should be identical as the one you’ve now made one this PC. Otherwise, repeat the process and get in touch with the support group about this.