
How-tos
How to properly run a ZEP experiment in the lab
If you have suggestions on how to improve this document, or find mistakes, please send them to ilslabs@nulluu.nl
This how-to guides you through a test session using ZEP at the ILS Labs. It assumes you have completely prepared your experiment – including the replacement of the example stimuli with your own.
Step 1 and 2 should only be done when running your experiment for the first time. Step 3 to 7 should be repeated every time you login to a lab computer in order to run your ZEP experiment.
NOTE: Make sure you read and closely follow this how-to all the way until step 7 every time you run your experiment. Logging off before you’ve reached step 7 may result in loss of valuable experiment data.
Before reading this how-to, make sure you are familiar with the various places where you can store your data and with the concepts of Network storage and Local storage.
The first time you start your experiment
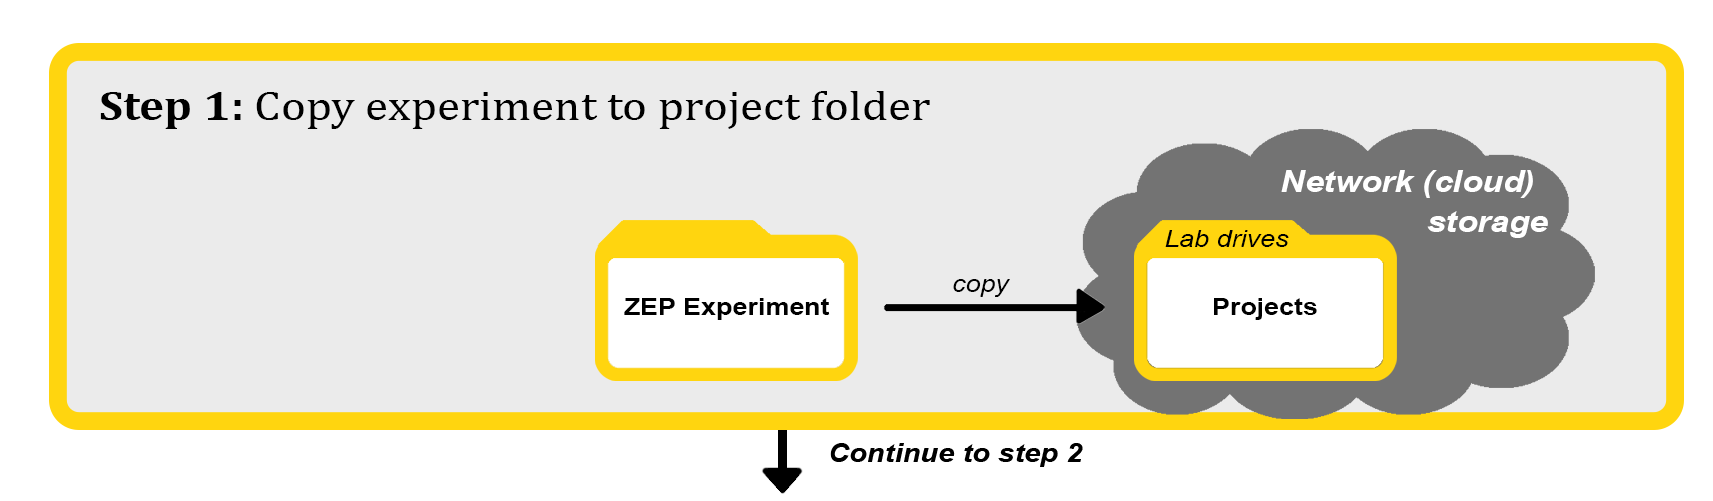
Step 1. Make sure your experiment is in the project folder
Make sure your experiment is finished, according to the instructions of the Planning an Experiment how-to.
You may have been using your project folder all along to prepare your experiment (recommended). If not, copy the complete folder containing your ZEP experiment to the project folder of your research project, which should be located on the network storage. This will always be the place where your main research data and the latest version of your experiment is stored.
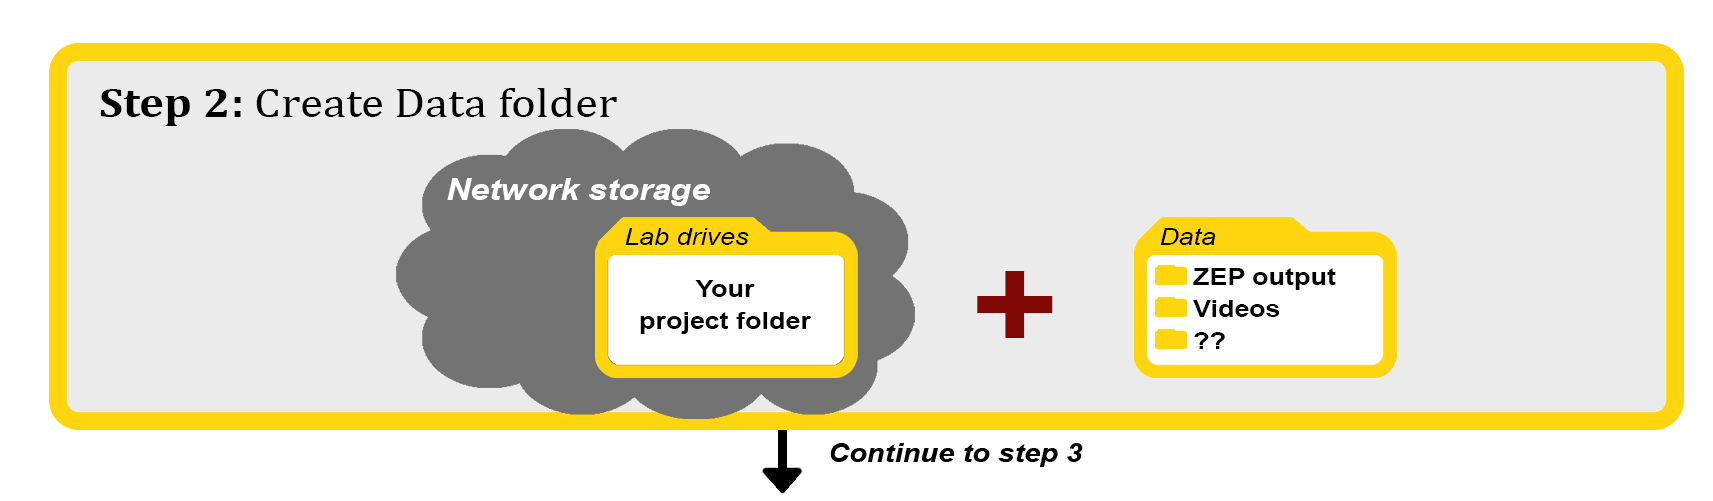
Step 2. Create a data folder
In the project folder on the network storage, create a new subfolder and name it ‘data’. Think about the type of data that you will be collecting (ZEP output/videos/eye tracking data/etc.) and create subfolders accordingly.
Running your experiment
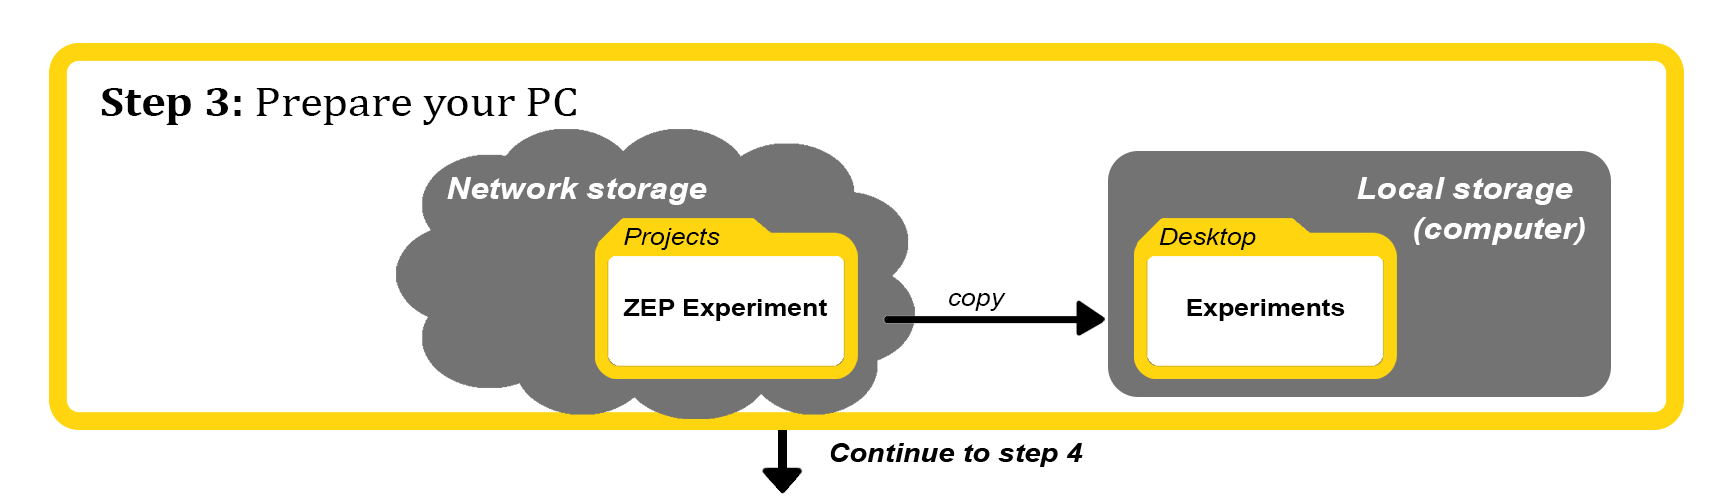
Step 3. Prepare your computer
Start the computer and make sure it starts in Kubuntu. Login using your solis ID.
Copy the entire folder containing the latest version of your ZEP experiment from your project folder (on the network storage), and paste it into your local Experiments folder. This is a standard folder which you can find on your desktop when working in Kubuntu.
NOTE 1: Local folders (such as the Experiments folder) can only be accessed by you and only on this computer. If you want to run an experiment on multiple computers at the same time, you should repeat this step for every computer.
NOTE 2: Local folders will be emptied every once in a while, which will cause loss of data or your experiment if you haven’t uploaded your data to yourproject folder on time. Therefore, always keep the correct version of the experiment in your project folder.
If you log back in to your computer for a second test session and the local storage has not yet been cleared, you don’t have to copy the entire folder containing your experiment again. Instead, you can immediately continue with step 4.
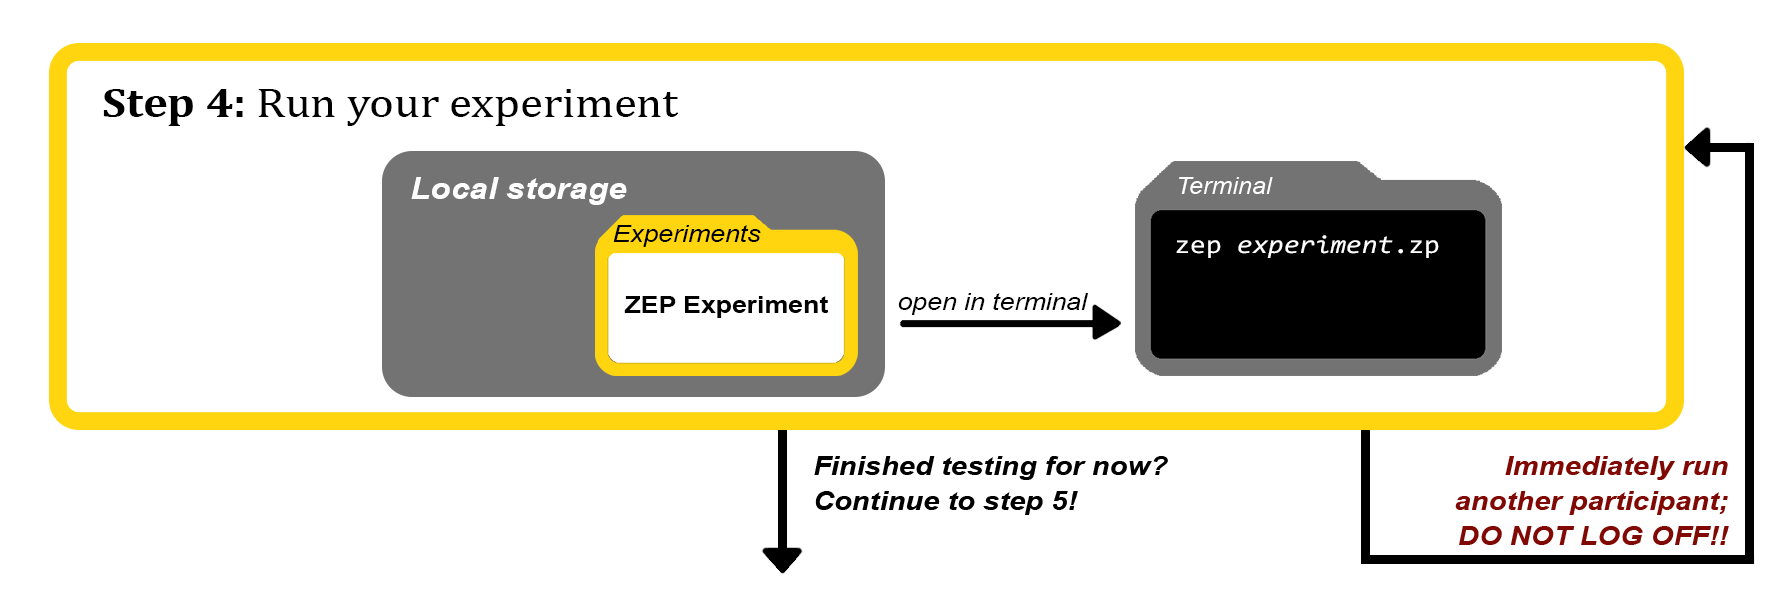
Step 4. Run your experiment
You can now run your ZEP experiment. Either follow the instructions given to you when you were given the ZEP code, or follow the more general instructions in this step.
Go to the ZEP experiment folder, which you copied to your local Experiments folder (step 3). In your ZEP experiment folder, there should be a file with the extension “.zp”.
Open the terminal by right-clicking the mouse anywhere in the folder, select ‘Actions’ and click ‘Open in terminal’. In the terminal, type in the command zep experiment.zp, but replace “experiment” with the correct file name.
This should start ZEP. You will see the control window for your experiment. Make sure ZEP is configured to the settings that are required for the experiment you are about to run (this includes selecting you as the researcher and creating/selecting the current participant).
Click Start when you’re ready.
Repeat this step as often as required whenever you have multiple appointments scheduled on the same day. However, do not log off in between appointments, as this may result in data loss! If you wish to log off and continue testing later, please move on to step 5-7 before doing so.
(If you need to grab a coffee, you can lock your computer using the key-combination ctrl+alt+L so no one else can use your computer. But don’t leave your computer locked overnight!)
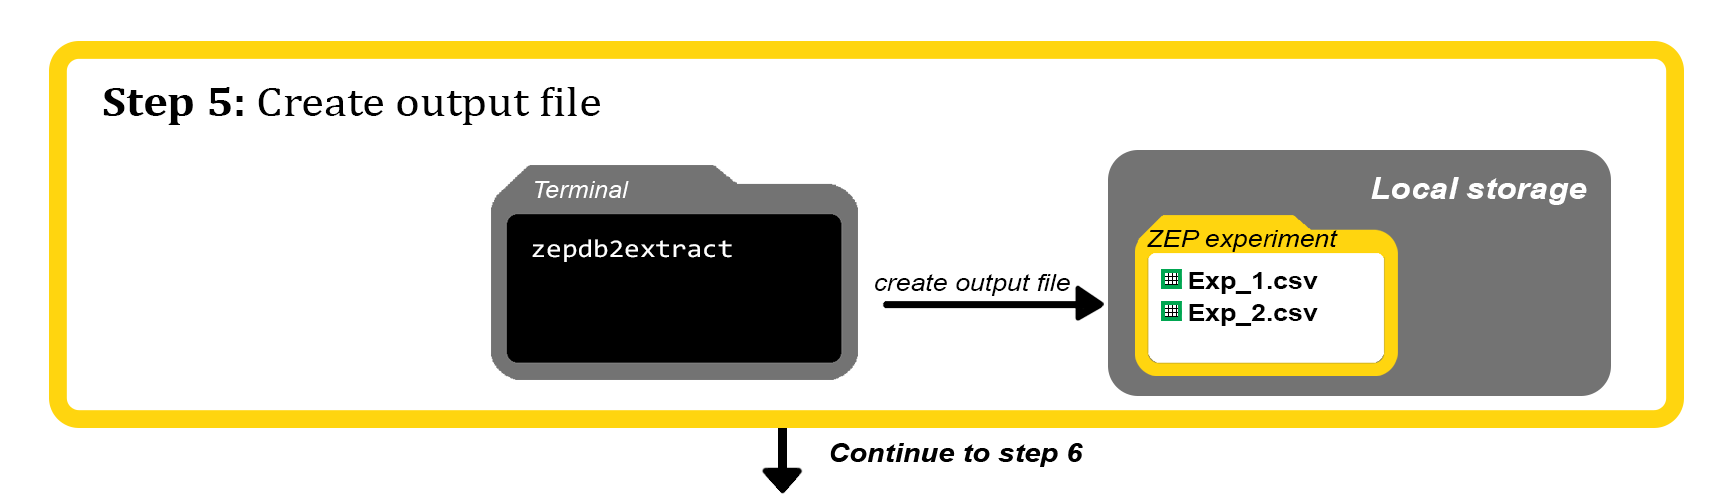
Step 5. Create an output file.
After you have tested your last participant for the moment, you should create an output file for the response data. To do so, go back to the terminal and type zepdbextract (when running a ZEP1 experiment) or zepdb2extract (when running a ZEP2 experiment). This code will create one or more .csv-files in your local experiment folder.
NOTE: This command only creates output for completed test sessions! If you had to abort a test session halfway for whatever reason, you will not see these results in the output file.
Step 6. Upload your ZEP response data to your project folder
Open the .csv-file(s) and check the data. To preserve your precious data, do the following:
After the first time you run the experiment
Copy the .csv-file(s) to the data folder that you’ve created in your project folder on the network storage (step 2).
After all the other test sessions
Go to the data folder in your project folder, and open the .csv-file(s) that you saved earlier (after previous test sessions). Also, open the newly created .csv-file(s) in your local experiment folder. Copy the data from the new participants in the new .csv-file, and paste them into the old .csv-file in the project folder underneath the old data. You may choose to only copy the participants that you wish to include (and leave out e.g. dummy participants or test sessions that went horribly wrong). Save the .csv-file in your project folder.

Step 7. Upload all other data to your project folder
Finally, copy any other data that you’ve acquired while testing to the data folder that you created in step 2.
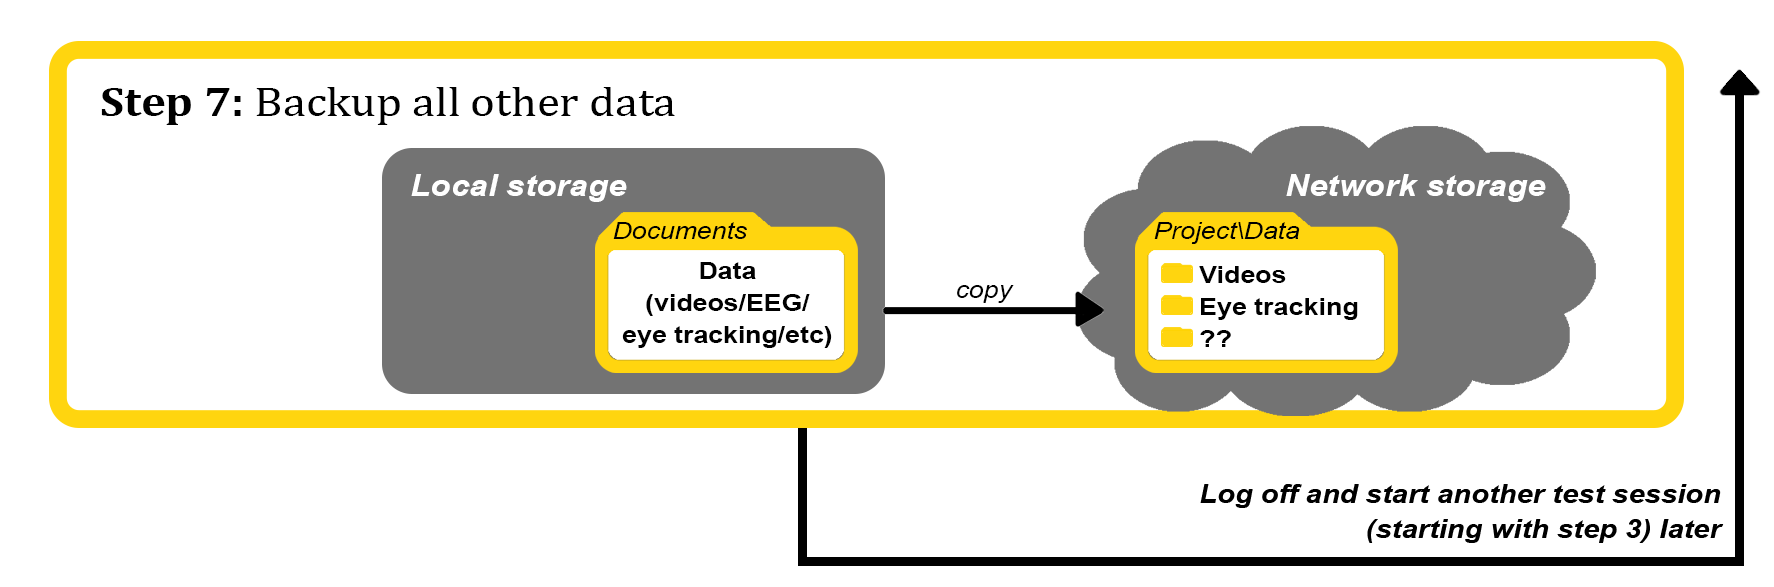
Make sure to always repeat these steps before logging off! If you haven’t backed up your data to the project folder, you risk the loss of valuable data!